Google Analytics is a free comprehensive tool that allows you to track your web traffic and data.
Google Analytics will show you how many people visit your site, individual pages, conversions, and how people interact with your content. This data is critical for the optimization of your website.
There are two types of Google Analytics code.
You may be accustomed to the Google Universal Analytics (UA) code. This is being sunsetted and replaced with Google Analytics 4 (GA4).
GA4 is much more customizable and applies to websites or apps, whereas Google UA can only be applied to websites.
Setting Up Google Analytics On Your Website
The first thing you will want to do is set up your free Google Analytics account.
You will be prompted to sign in with a Gmail account. Once you do that, you will be logged in.
Select the button that says Start Measuring.

The next screen will have you create an account name. You can track more than one site under one account, so you might want to use something broad, such as the name of your business.
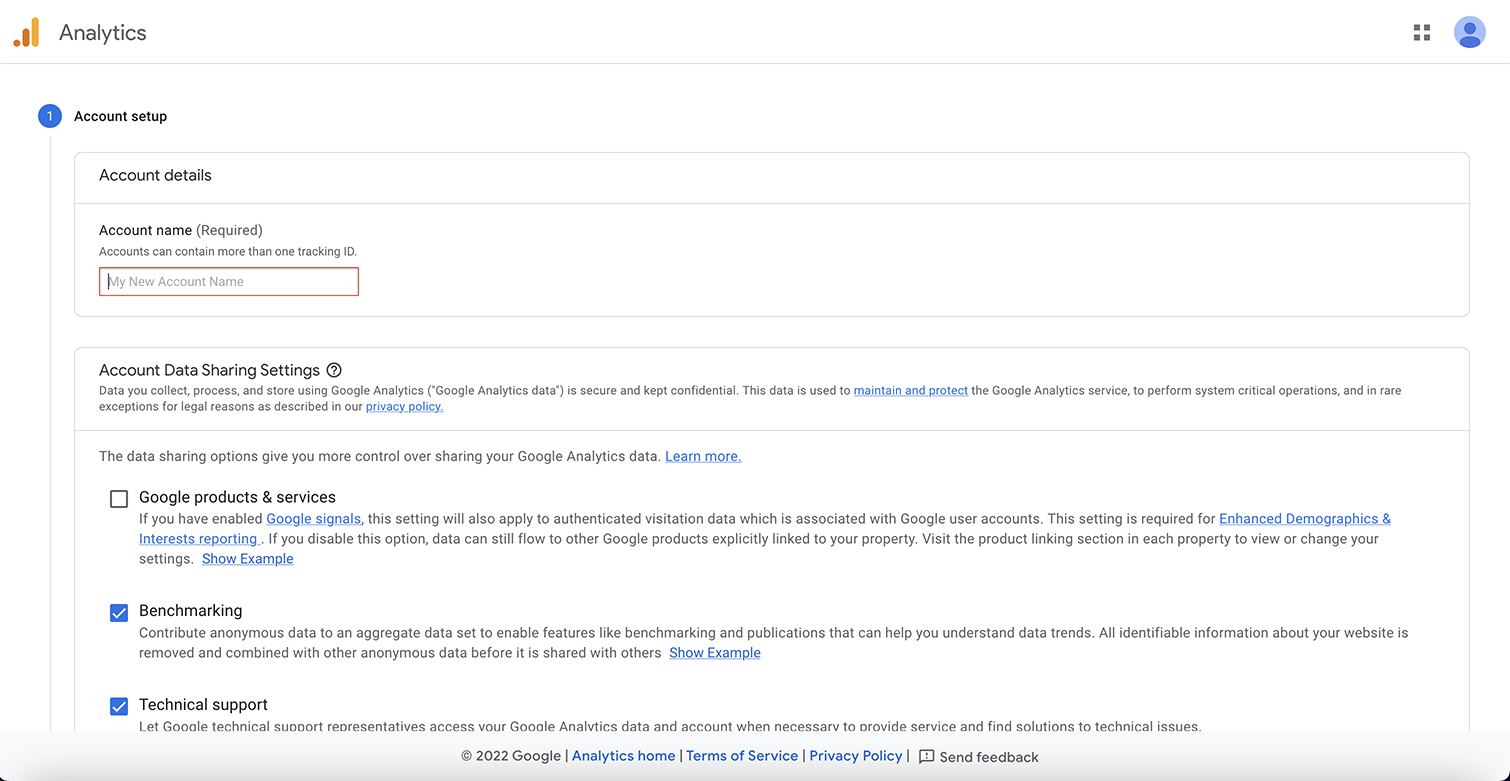 Screenshot from Google Analytics, August 2022
Next, you will want to set up properties. This should include the name of your website, the time zone, and the currency used for this business’s location.
The next screen will ask a little bit about your business and how you intend to use Google Analytics.
Click on the terms of the agreement and select email communications, and you will be taken to the admin dashboard.
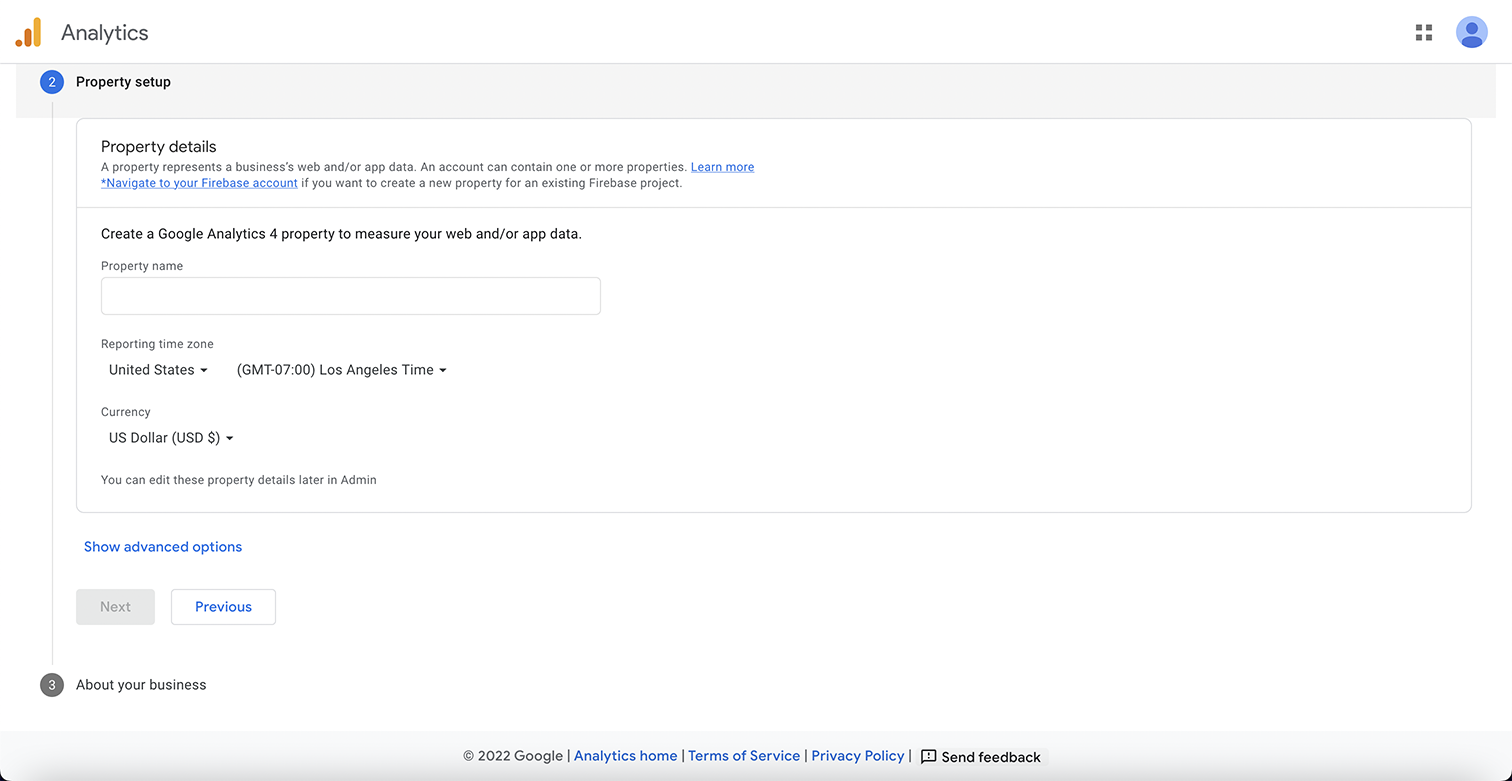 Screenshot from Google Analytics, August 2022
Next, you will want to set up the data stream.
When adding Google Analytics to a WordPress site, you will want to select “web stream.”
You will next add your site’s URL and the site’s name.
Once you hit the Create Stream button, you will see the stream name, stream URL, stream id, and measurement id.
The measurement id is what you will use to add to your website.
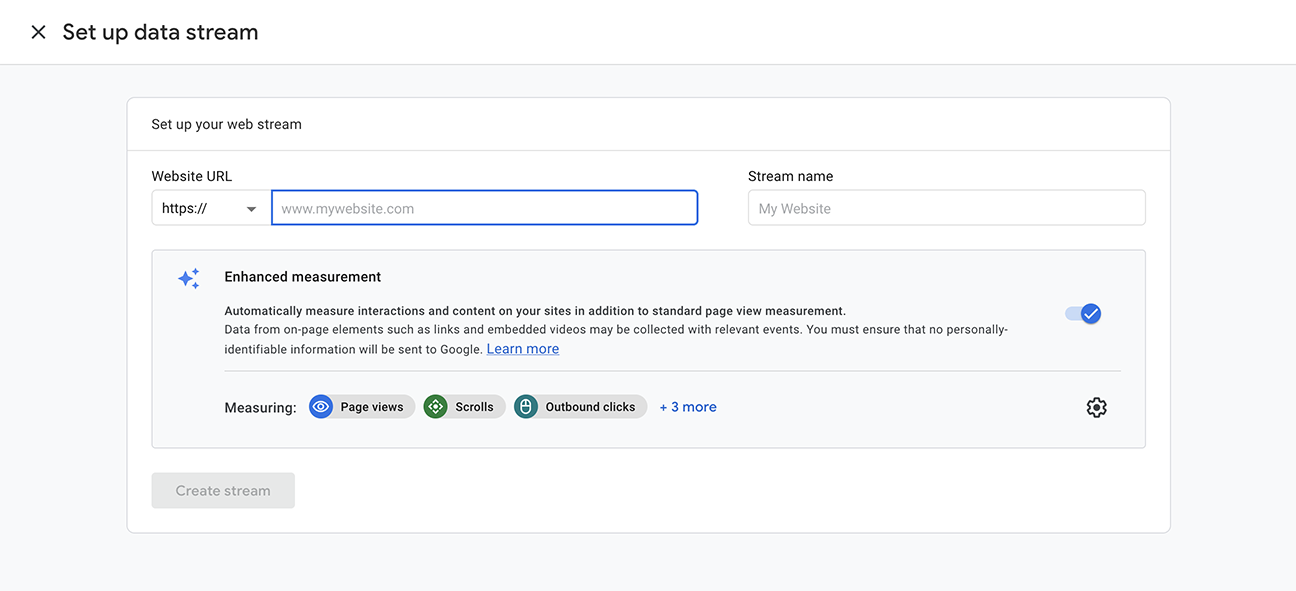 Screenshot from Google Analytics, August 2022
Adding Google Analytics To Your WordPress Website
There are three different ways to add Google Analytics to any WordPress site.
The best option for you will depend on your comfort level with making changes to your website code.
The first option uses a WordPress plugin to add Google Analytics to your website without requiring coding.
The second option uses a WordPress plugin with a small amount of code required to be copied and pasted.
The third option requires you to edit the code in the theme files of your website.
1. Using The Google Analytics Plugin
The easiest way to add your Google Analytics tag code to WordPress is with a plugin.
Google Analytics for WordPress by MonsterInsights is the most popular and makes it simple to add your Google Analytics code to your site.
The free version should work perfectly fine unless you want advanced tracking and reporting features. Then you would want to upgrade to the pro version.
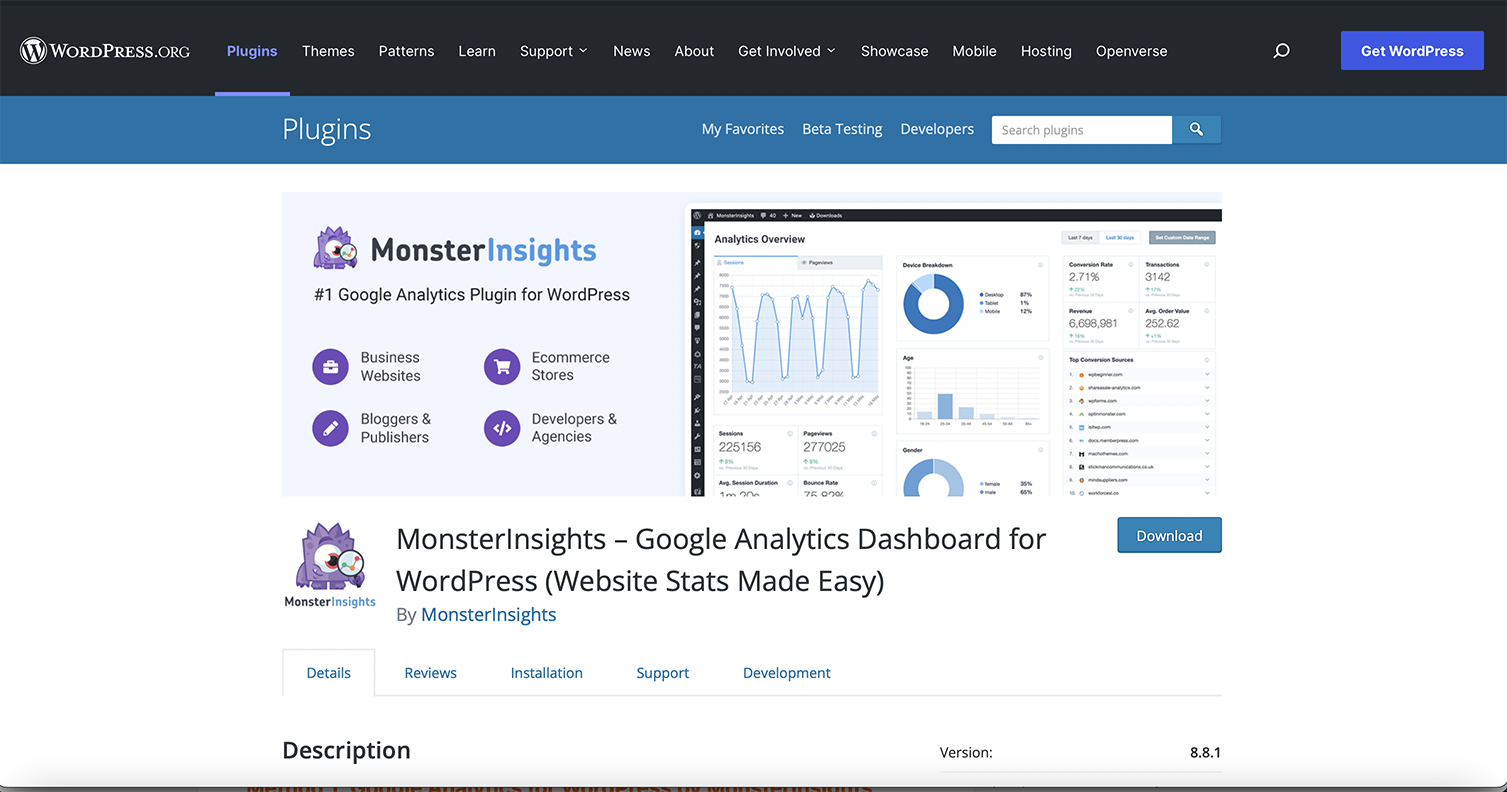 Image from WordPress.org, August 2022
- Step 1: Install and activate the MonsterInsights plugin.
- Step 2: Launch the Wizard to fill in information about your site and hit the Connect MonsterInsights button. This will take you through a few pages of settings that should be pre-selected for your setup.
- Step 3: Next, you will be prompted to sign into your Gmail account, asking for permission to access your Google account.
- Step 4: Click Allow, and then it will show the Google Analytics account to which it will connect.
- Step 5: Hit Complete Connection to connect to your Google Analytics account. It will finish up by offering an upgrade to Pro, but you can select the link at the bottom to finish the installation without upgrading.
You are all set up now, and you will now see Insights in your WordPress dashboard. Reports, Settings, and any other selected tools are now visible in the WordPress dashboard.
2. Using The Header/Footer Script Plugin
The second way to install your Google Analytics tag is with a header/footer plugin.
This method is especially helpful if you want to track different metrics for different pages, as it can be used on specific pages and the entire site.
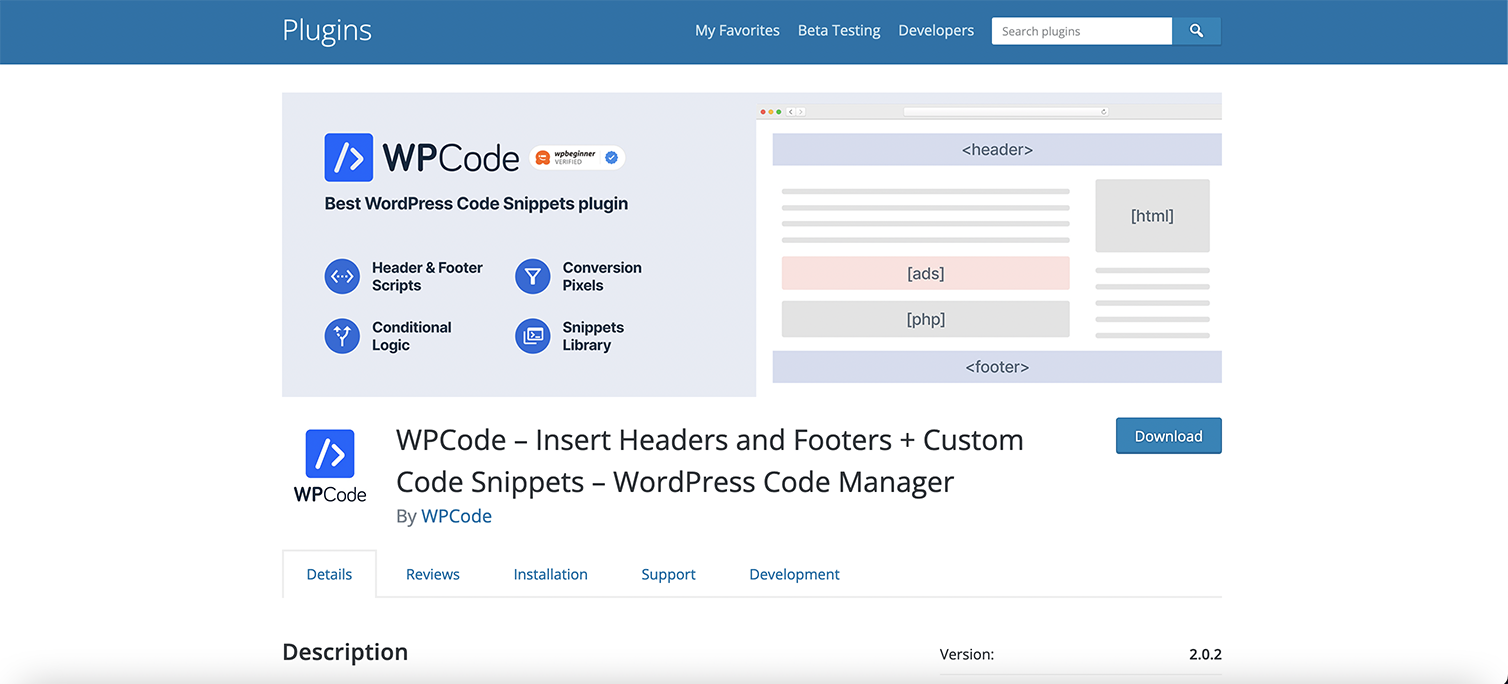 Image from WordPress.org, August 2022
WPCode Insert Headers and Footers + Custom Code Snippets – WordPress Code Manager is the most popular plugin to insert header and footer code with over 1 million users.
- Step 1: Install the Headers and Footers plugin on your WordPress site.
- Step 2: In your Google Analytics account, click on Tagging Instructions and then select the Install Manually tab.
- Step 3: Copy the Google Tag code.
- Step 4: In your WordPress dashboard, you will see the Code Snippets plugin on the left-hand navigation menu.
- Step 5: Select Header & Footer under the drop-down and then paste your code into the Header section.
- Step 6: Hit Save Changes.
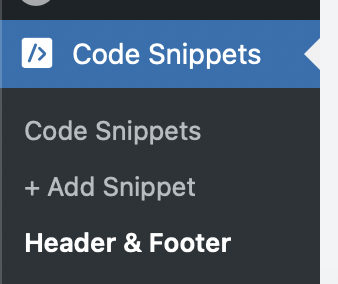 Image from WordPress.org, August 2022
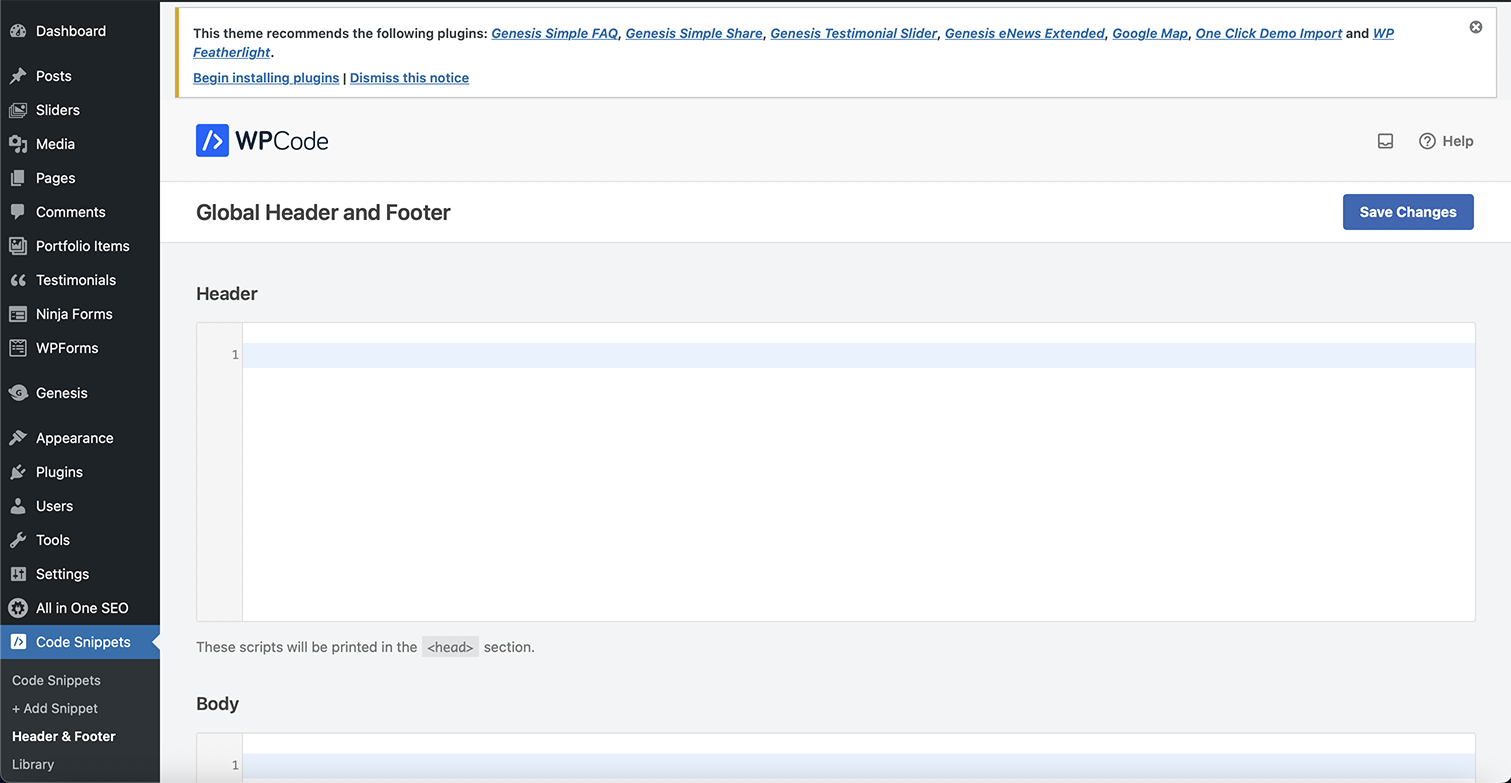 Image from WordPress.org, August 2022
- Optional Step: To add code to a specific page or post, select the page or post and scroll to the bottom. Add the appropriate Google Analytics code in the header section of that page. Hit Update to save your changes.
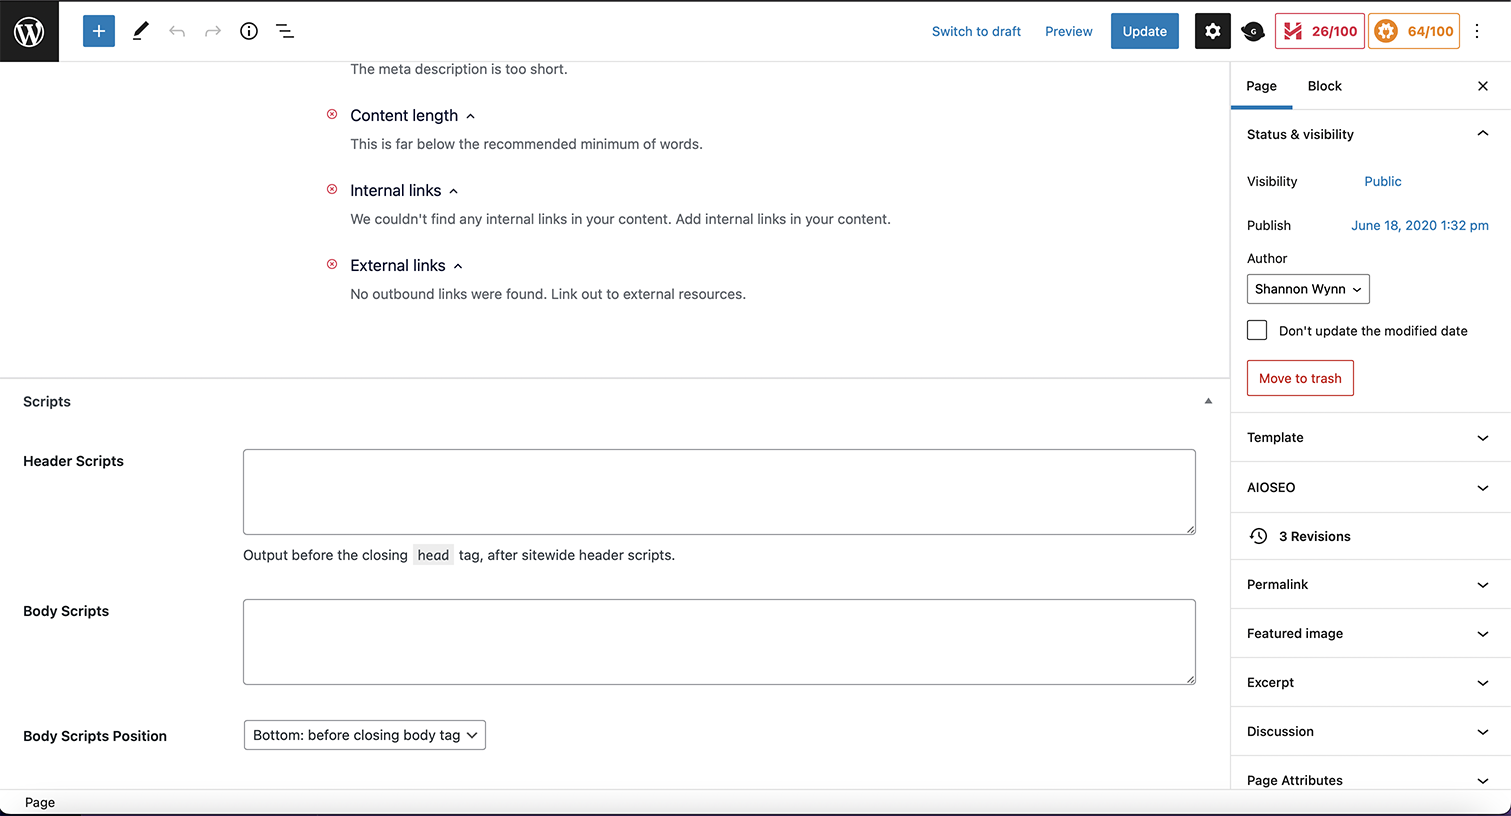 Image from WordPress.org, August 2022
3. Add Google Analytics Code Snippet Directly To The Header.php File
If you are comfortable working directly in your theme code, this is another option for adding your Google Analytics code. Keep in mind that you are directly changing the theme files, so if you change or update your theme, you will lose your Google Analytics code and will need to re-add it every time you update or change the theme.
- Step 1: In the WordPress dashboard, go to Appearance > Theme File Editor.
- Step 2: Select the parent theme and the header.php.
- Step 3: Copy and paste the code right before the closing </head> element.
- Step 4: Click Update File to save your changes.
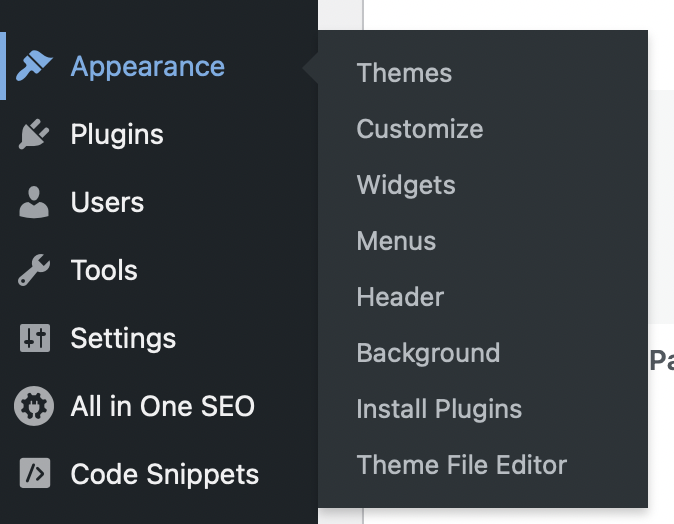 Image from WordPress.org, August 2022
WordPress theme files, August 2022
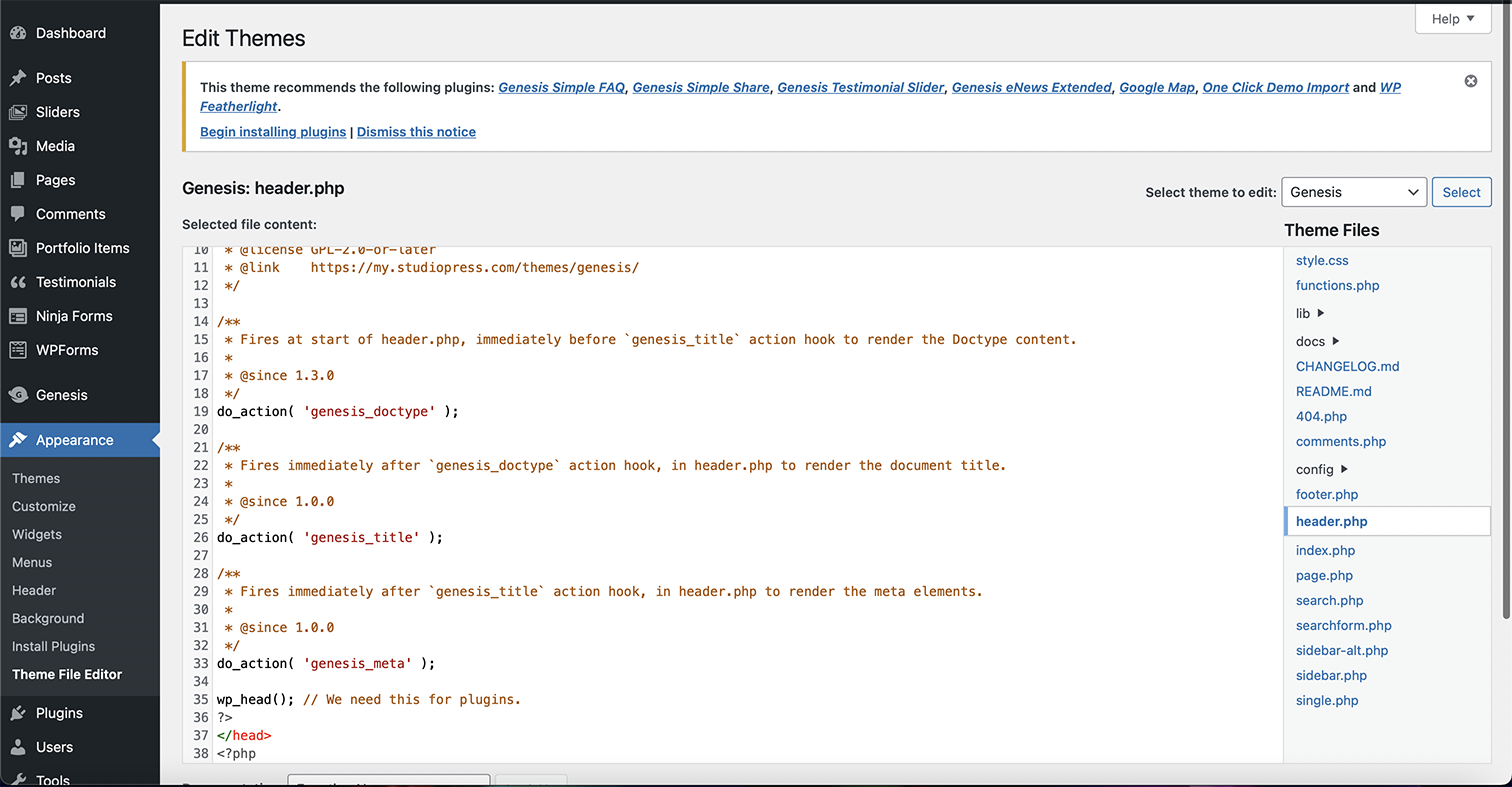 Image from WordPress.org, August 2022
Verifying Your Google Analytics Tags
Once you have your Google Analytics tag installed on your website, you can use the Tag Assistant (Legacy) by Google Chrome Extension to check that your Google Analytics tag is installed and working correctly.
Simply install the Chome extension on your browser, navigate to the WordPress site that you installed Google Analytics on, and it will tell you which tags are present on the site and if there are any errors.
 Screenshot by author, August 2022
Once Google Analytics Is Installed On Your WordPress Site
Once your Google Analytics tag is installed, you can view the dashboard through the Google Analytics site.
Alternatively, if you selected the MonsterInsight plugin method of installing Google Analytics on your WordPress site, you can view the reports and data from right within your WordPress dashboard.
Google Analytics is a powerful tool to help you understand how visitors are getting to and using your website, how well pages are converting, how many users are visiting your website, and so much more.
Adding the Google Analytics tag to a WordPress site is simple, using one of these three methods:
- Google Analytics plugin (such as MonsterInsights).
- Header/Footer plugin (such as WPCode).
- Add directly to theme header.php file.
You can use the data from Google Analytics to gain valuable insights into your website traffic which will allow you to make improvements.
It’s worth noting that Google Analytics cannot collect data retrospectively, so it’s important to add Google Analytics to your website sooner rather than later to avoid missing any data.
More resources:
Featured Image:Andrey_Popov/Shutterstock
window.addEventListener( ‘load’, function() {
setTimeout(function(){ striggerEvent( ‘load2’ ); }, 2000);
});
window.addEventListener( ‘load2’, function() {
if( sopp != ‘yes’ && addtl_consent != ‘1~’ && !ss_u ){
!function(f,b,e,v,n,t,s)
{if(f.fbq)return;n=f.fbq=function(){n.callMethod?
n.callMethod.apply(n,arguments):n.queue.push(arguments)};
if(!f._fbq)f._fbq=n;n.push=n;n.loaded=!0;n.version=’2.0′;
n.queue=[];t=b.createElement(e);t.async=!0;
t.src=v;s=b.getElementsByTagName(e)[0];
s.parentNode.insertBefore(t,s)}(window,document,’script’,
‘https://connect.facebook.net/en_US/fbevents.js’);
if( typeof sopp !== “undefined” && sopp === ‘yes’ ){
fbq(‘dataProcessingOptions’, [‘LDU’], 1, 1000);
}else{
fbq(‘dataProcessingOptions’, []);
}
fbq(‘init’, ‘1321385257908563’);
fbq(‘track’, ‘PageView’);
fbq(‘trackSingle’, ‘1321385257908563’, ‘ViewContent’, {
content_name: ‘add-google-analytics-wordpress’,
content_category: ‘analytics-data seo wp’
});
}
});


